
Overview
Setting up your Shopify store is easy with these steps: create an account, customize settings, choose a theme, add products, set up collections, configure your domain, optimize for SEO, integrate marketing tools, launch your store, and monitor performance. Follow this guide to establish a strong e-commerce foundation and succeed in online sales.
Frequently Asked Questions
1. What is the first step in setting up a Shopify store?
2. How do I customize my Shopify store settings?
3. What should I consider when choosing a theme for my Shopify store?
4. How can I improve my Shopify store's SEO?
5. What should I do before launching my Shopify store?
Setting up your Shopify store can feel like a daunting task, but it doesn't have to be. With the right guidance, you can create a stunning online store that not only attracts visitors but also converts them into paying customers. In this step-by-step guide, we’ll walk you through the essential steps of setting up your Shopify store, ensuring you make the most out of your Shopify website package and lay a strong foundation for your e-commerce business.
Step 1: Create Your Shopify Account
The very first step in starting your e-commerce journey is to sign up for a Shopify account. Here’s how to get started:
- Visit the Shopify website.
- Click on the “Start free trial” button.
- Enter your email address, create a strong password, and provide a store name.
Choosing a unique store name is crucial as it defines your brand identity. Once you complete the signup, you’ll be directed to your Shopify dashboard, where all the magic happens!
Step 2: Customize Your Store Settings
After creating your account, let’s move on to customizing your store settings. This step is essential as it determines how your online store operates.
Store Details
Start by entering vital details about your business:
- Store Address
- Contact Information
- Business Type (sole proprietorship, LLC, etc.)
Accurate store details help with shipping rates and taxes, so ensure that this information is correct.
Payment Providers
Next, add payment methods to your store. Shopify integrates with various payment gateways, allowing you to receive payments easily.
- Shopify Payments (recommended for seamless integration)
- Third-party payment gateways (PayPal, Stripe, etc.)
- Manual payment methods (bank transfer, cash on delivery)
Shipping Settings
Define your shipping options by going to the shipping settings. Consider your target market, and plan a reasonable shipping strategy that could include:
- Free shipping
- Flat-rate shipping
- Carrier-calculated rates
Your shipping strategy can significantly impact your sales, so choose wisely!
Step 3: Choose and Customize Your Theme
Your store’s design is essential for creating a good user experience. Shopify offers a range of free and premium themes to choose from.
Selecting a Theme
Here’s how to choose the right theme:
- Go to the Online Store section on your Shopify dashboard.
- Browse through the themes and select one that aligns with your brand.
- Click on “Install theme” once you find one you like.
Customizing Your Theme
After installing your chosen theme, it’s time to customize it:
- Add your logo: Creating a memorable brand starts with your logo.
- Choose your color scheme: Pick colors that align with your branding.
- Edit the typography: Select fonts that are readable and match your brand style.
- Set up your homepage: Organize sections like featured products, collections, and testimonials.
Remember, a well-designed store improves user experience and can lead to higher conversion rates.
Step 4: Add Your Products
Now that your store design is looking great, it’s time to populate it with products.
Creating Product Listings
To add products:
- Navigate to the “Products” tab on your dashboard.
- Click on “Add product.”
Fill in the following information:
- Product Title
- Description: Make it enticing and keyword-rich.
- Images: Use high-quality images for better presentation.
- Pricing: Set competitive prices to attract customers.
- Inventory: Manage your stock levels efficiently.
Including relevant SEO keywords can help improve your visibility. Utilize phrases like “Shopify website package” subtly in your product descriptions.

Step 5: Set Up Collections
Organizing your products into collections enhances the shopping experience. Create collections based on categories, themes, or seasonal promotions:
- Add collections through the “Products” tab.
- Click on “Collections” and then “Create collection.”
Utilizing collections allows customers to navigate your store more easily, improving user experience and potentially increasing sales.
Step 6: Configure Your Domain
Your website’s domain establishes your brand identity and builds trust. You can either purchase a new domain through Shopify or connect an existing one. Here’s how:
- Go to Online Store > Domains.
- Follow the prompts to either buy a domain or connect one you already own.
Having a custom domain enhances your credibility and aligns with your brand image.
Step 7: Optimize for SEO
Search Engine Optimization (SEO) is critical for driving organic traffic to your store. Take the following steps to optimize your store:
Product and Page Titles
Ensure all product titles, page titles, and meta descriptions include relevant keywords. Incorporate phrases like “Google Shopping Ads” to improve discoverability.
Image Optimization
Remember to add alt text to all your images, which helps improve search engine visibility and provides an accessible experience for all users.
Blogging
Consider starting a blog on your Shopify website. Blogging allows you to share industry insights, product tips, and guides, generating valuable content that attracts visitors and boosts SEO.
Step 8: Integrate Marketing Tools
Leverage marketing tools within Shopify to help promote your products effectively.
Email Marketing
Shopify enables you to create email marketing campaigns. Collect emails through pop-ups and sign-up forms to engage users periodically through newsletters, promotions, and product launches.
Social Media Integration
Connect your social media accounts to your Shopify store. Sharing your products on platforms like Facebook, Instagram, and Pinterest can widen your reach and attract a larger audience.
Setting Up Google Shopping Ads
Once your store is up and running, consider setting up Google Shopping Ads to boost visibility. This advertising option lets you showcase your products directly in search results, increasing your chances of conversion:
- Link your Shopify account to Google Merchant Center.
- Create shopping campaigns using targeted product groups.
- Monitor performance and tweak campaigns for optimal results.
Step 9: Launch Your Store
Before you go live, take some time to test every aspect of your store. Make sure:
- All pages load quickly.
- Payment gateways work correctly.
- Shipping settings function as intended.
- The user experience is seamless.
Once you’re satisfied, it’s time to launch your store. Promote your grand opening on social media and consider running a special promotion to attract early customers.
Step 10: Monitor and Improve
Your Shopify journey doesn’t end at launch. Consistently monitor your store’s performance through analytics and make needed adjustments:
- Review sales and traffic data regularly.
- Gather customer feedback to improve products and services.
- Stay updated with industry trends to keep your offerings fresh.
Remember, e-commerce is constantly evolving; staying proactive will help you maintain a competitive edge.
Your Path to E-Commerce Success!
Setting up a successful Shopify store is truly an attainable goal when you break it down into manageable steps. By following this guide, you’ll have a solid foundation to grow your online business. The combination of a robust Shopify website package and effective marketing strategies will pave the way for long-term success. Embrace the journey, keep learning, and before you know it, you’ll be well on your way to being a successful e-commerce entrepreneur!
Linked Product

Shopify Basic Simple Site Package
The Shopify Basic Simple Site Package is designed for businesses seeking an efficient online presence with a focus on storytelling and product promotion. This package includes a customizable homepage layout and essential features like a slideshow banner and product templates, ensuring a streamlined experience for both the business and its customers. With professional copywriting and branding options, clients can effectively communicate their mission and offerings while maintaining a visually appealing site.
View Product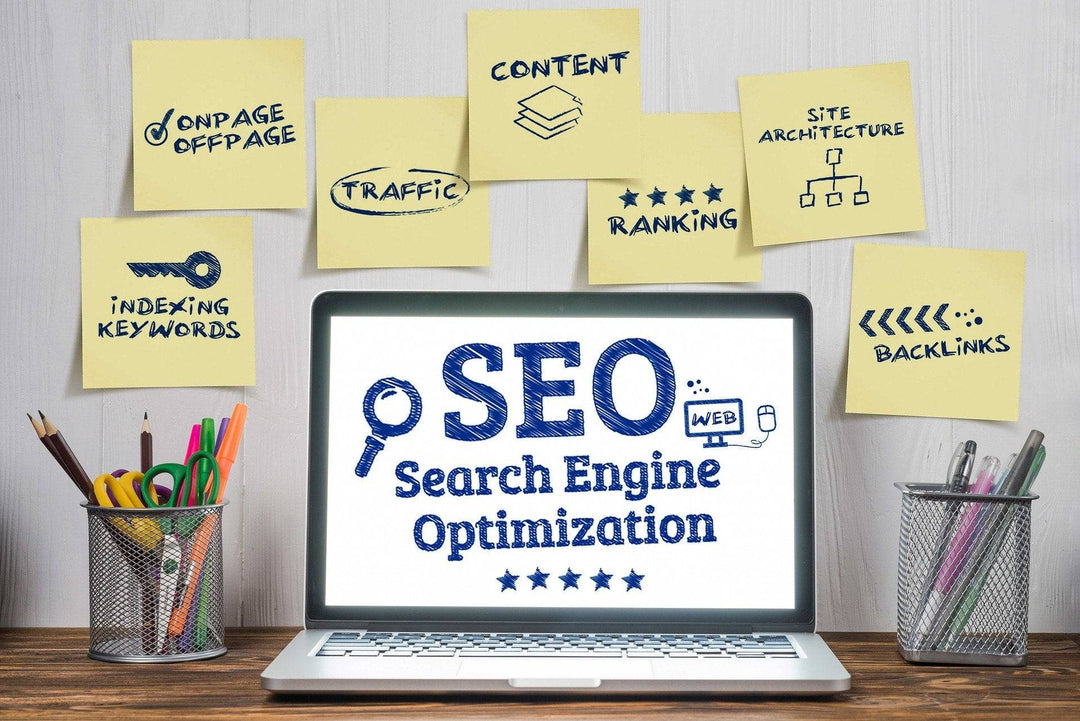


Leave a comment